
We love to travel and to eat! Here we share our favorite quick and easy recipes, plus travel tips and guides for our favorite places around the world. If you have any questions about what camera I use or how I edit my photos, check out my photography tutorials.
 We want to make travel as easy and stress-free as possible. We share insider tips and practical information for popular travel destinations around the world. With our city guides and sample itineraries you can travel confidently knowing you won’t miss anything. Where do you want to go? Click one of the destinations below, and let us help you plan your trip!


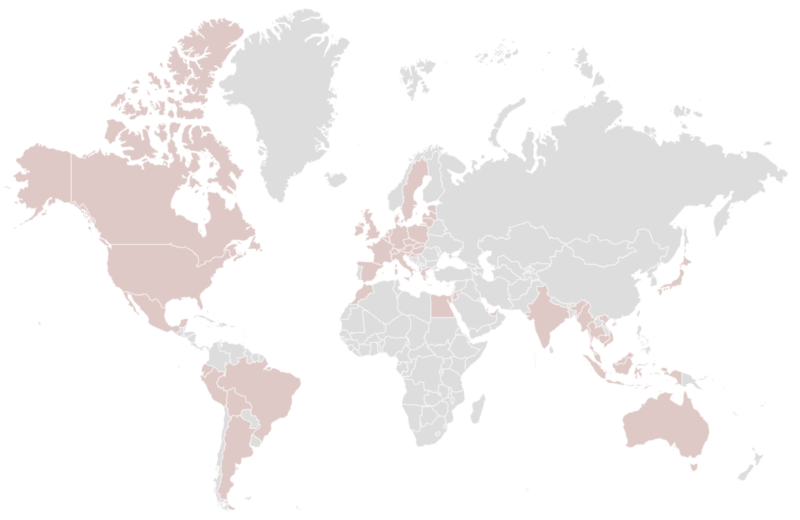
Click on any country for travel tips, city guides, and itinerary ideas!